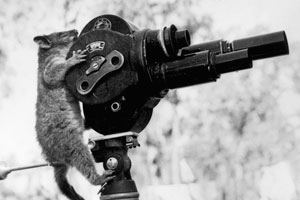
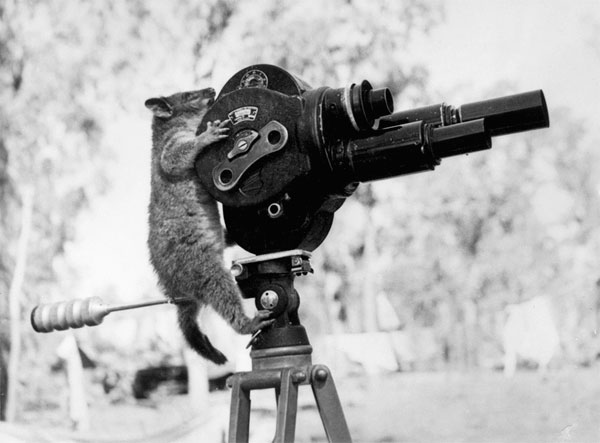
Photograph via Australian War Memorial
The Process of Making A Book Trailer
In part 1 of Look Ma! A Book Trailer, we talked about the importance of book trailers as part of your marketing campaign. We also identified some of the different types of book trailers based on style and content.
In part 2: Process, we’ll discuss the steps involved in creating a book trailer. Let’s check it out.
Step 1: Scripting / Planning
This is probably the most important step in the process because it will affect the rest of your production. And correctly planning your trailer will save you a lot of time and headache down the road.
- Find out the “elevator pitch” of your book. Write it down and read it aloud. Ideally, your trailer is snappy short and right to the point.
- Determine the length of your trailer. Under a couple of minutes is good. And having a version of your trailer around thirty seconds is ideal for sharing on social media and airing on television or radio.
- This one is obvious – Make sure to talk about why your book or story is exciting. Have a strong ending with a call to action.
- If you’re filming a live-action trailer, identify key scenes for filming. If you don’t have experience creating movies, then you should be working with someone who does.
- For live actions – plan for set locations, make-up, actors, director etc… You can reach out to a local acting troupe, independent film studio or agency and maybe even craigslist.
- Storyboard your trailer – this will help everyone involved visualize the end result
Step 2: Gathering assets & resources
Once you have a plan, you should go through it scene-by-scene and find out what assets you need and how to get them. Some of these will include:
- Visual materials and elements (graphics/art/video/still-photography)
- Music & sound effects
- Voice-over narration
- Animation assets
- Film scenes for live-action trailers
- Visual effect scenes to spice up your trailer
If you’re working on an animated or graphic trailer, then you need to start sifting thru your art files and grabbing images you want to use. In some instances, you’ll need to create new images just specific for the trailer. For live-action trailers, you’ll need to film these assets.
Pro Tip: If you’re on a budget (who isn’t) then I highly recommend checking out the many cheap or free online resources for stock footage and stock music.
Some resources include audiojungle.net, videohive.net, istock.com, incomptech.com… just do a simple Googling and you’ll find hundreds of websites. *Make sure to check the distribution rights of each footage
Step 3: The editing room, putting it all together
Using both your script and your assets, you’ll start to put the elements together in the editing room. Either you know how to do this or you’ll be working with an editor who will use your script/storyboard as a guide to put the book trailer together.
It will take several edits before you get the trailer down to a tight edit. Keep it short and sweet.
If you’re running long, just remember that you don’t have to combine all your thoughts into one trailer. You can make multiple trailers with slightly different edits. This is a neat way of getting your audience excited by releasing several trailers a few weeks apart.
Pro Tip: Another idea is to create a trailer where YOU, the author, talks about the book. It’ll give the reader a great insight to who you are as a person.
In part 3 of this blog series, I’ll talk about a couple of the trailers I worked on recently… two animated trailers. One of the is for a Children’s Picture Book “The Stumps of Flattop Hill” and the other is a comic book series called “Monstrous.” You can quickly tell the difference based on music & pacing.
Have a look below and see you on the next post.
The Stumps of Flattop Hill – A Macabre Children’s Fairytale Picture Book
Monstrous – Action/Adventure Steampunk Comic